Layering resin is among the most spectacular methods for adding visual flair to your epoxy creations. By pouring the resin in separate stages, you can introduce depth, translucency, and 3D visual effects to the piece, making it appear alive and distinct. While this method needs extra planning and patience, the result is well worth the investment in your time, and the creative possibilities for unique, professional quality work are nearly boundless.
What It Takes to Build Layers
Layering resin is all about creating an illusion of depth by pouring the epoxy over layers that are already cured or still curing. By pouring one layer after the next, you can build up different colors, textures, or even include other objects in the design.
Rather than a flat painting, resin layers help you establish spaces within your piece. For example, a flower or rock can appear to be suspended, or color can shift from one layer to the next. With resin layers, you can create the impression of a more complex design.
Layering can be used to give your resin piece more substance.
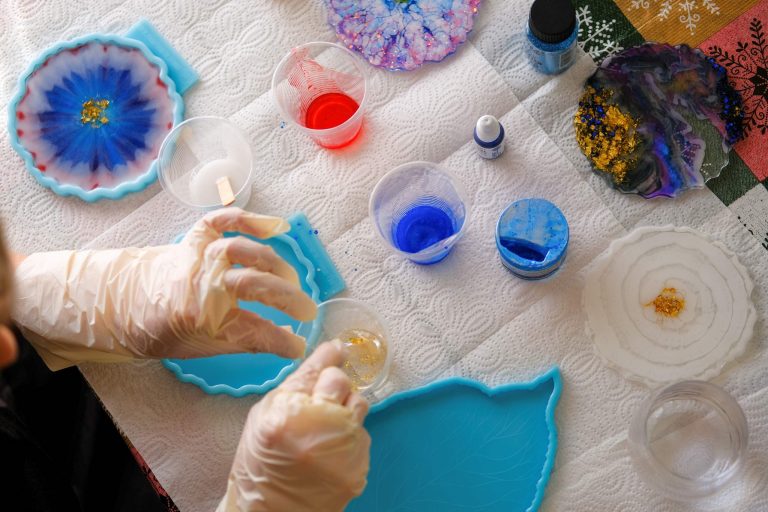
Plan Out The Details Before You Pour
When creating resin layers, you want to think ahead about the details of your design before you even mix up your epoxy.
Before you pour your resin, make sure you have figured out exactly how many layers you will use and what each layer will contain. You can decide which pieces will be the foreground, middle ground, and background. This way, you know which elements will appear first and which will come later, allowing you to work systematically.
If you have a plan of attack in place, your finished piece will be more intentional and aesthetically pleasing.
Know When to Pour Your Layers
You need to understand how curing affects your layers and how long it takes for each one to cure before moving on to the next pour.
If you try to pour a new layer on top of an uncured layer, the different colors can bleed together, and the design could turn out muddy. Conversely, if you allow each layer to cure for too long, it may be difficult for the next layer to stick. It is best to pour your layers once they are cured but still “tacky”.
You must wait the appropriate amount of time between layers to help your design appear distinct while remaining a unified piece.
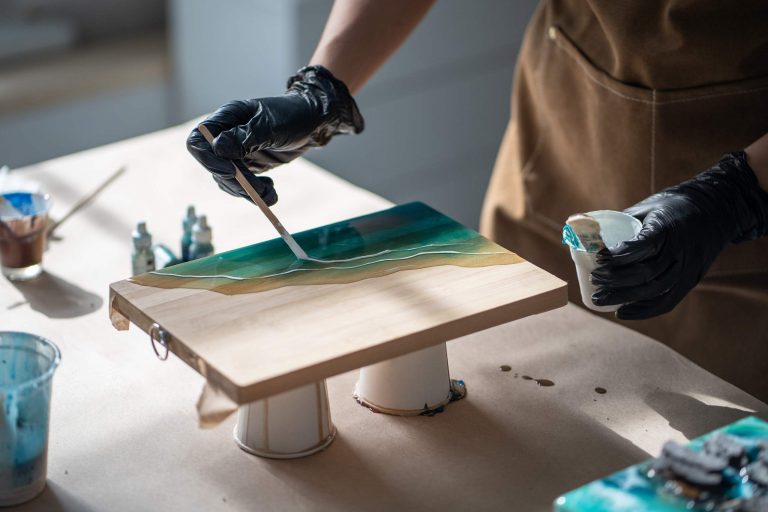
Add Color and Transparency to Your Layers
Your color palette choice will be extremely important when creating resin layers.
Since the pigment is semi-transparent, it allows light to shine through each successive layer, creating a more complex piece. You may want to use brighter shades of color on the top layer and use darker tones for the background.
The right color combinations will help to create depth and bring your piece to life.
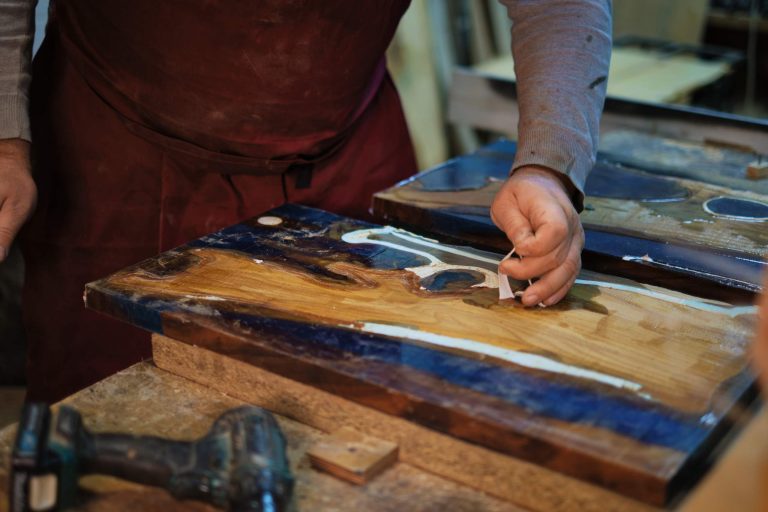
Embed Elements Into Your Layers
If you like to decorate, you can include objects between each layer to create depth and interest.
When you pour your first layer of resin, you can arrange your favorite objects into it, then allow the layer to begin curing. When you’re ready, pour the next layer. Objects may include dried flowers, small stones, glitter, or any decorative elements you wish to place inside your piece.
It is essential that you carefully place these objects since you cannot pick them up once the layer has set. The embedded object will become part of the piece, lending a personal, unique quality.
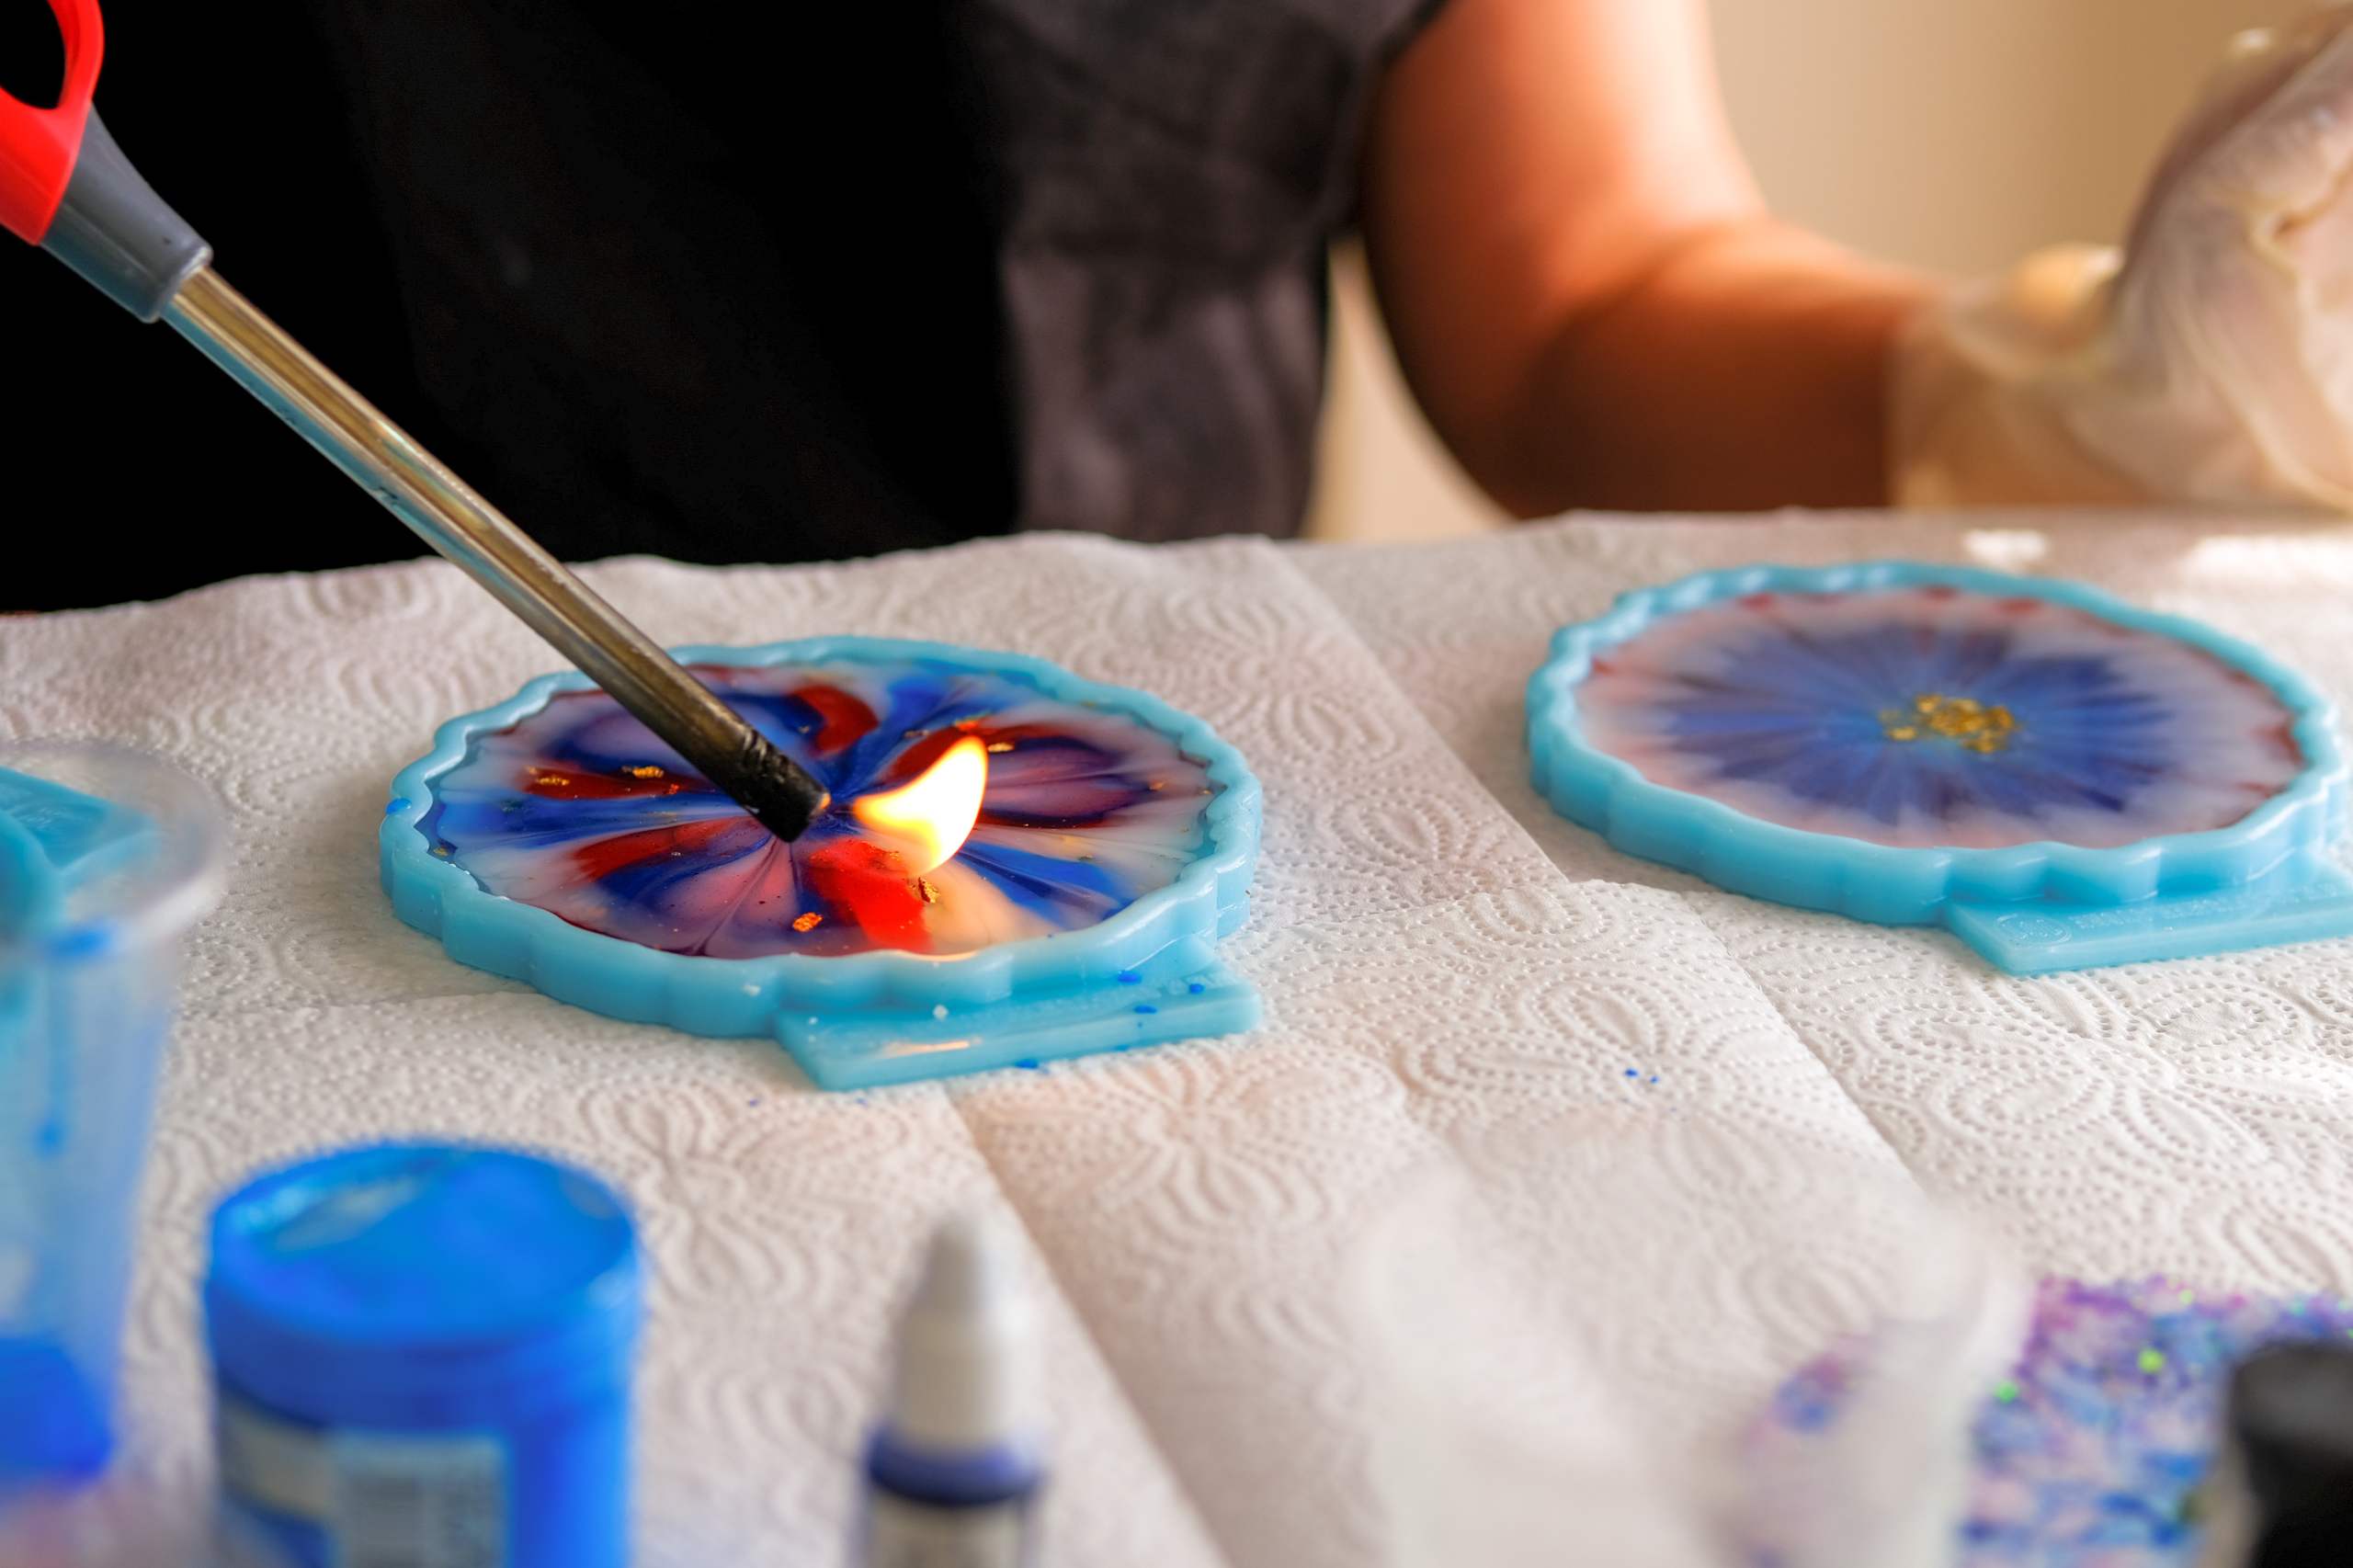
Watch Out for Potential Errors When Making Layers
While layering is a beautiful and effective technique, it isn’t always easy to master. There are certain factors that can make layering challenging.
If you are in a hurry, or you fail to give a layer enough curing time, you might accidentally pour too quickly or use incompatible materials. These actions can result in the layer turning a cloudy color or losing clarity.
You must proceed slowly, making sure each layer cures properly. This technique ensures a clean finish that looks professional.
Finish Your Layered Piece
Finally, your project is ready for its finishing touch.
After all layers are completely cured, you may choose to apply a finish to give the piece additional polish. This could include sanding and polishing the resin surface to make it clearer and more refined.
You have spent significant time creating these layers, and the finished product can bring your layering efforts to its full potential with a shiny, glass-like shine.
Bring Your Layered Resin Art to Life
Epoxy resin layers are an ideal means to incorporate depth and dimension into your resin art. When you create a layered design, you’re able to control the depth of each layer, add unique elements to each part of the piece, and achieve beautiful visual storytelling results. By carefully planning your work and following these techniques, you’ll be on your way to creating a beautiful layered resin art piece.