Epoxy resin art is among the modern creative crafts that are the most in style right now. It enables artists to produce shiny, vibrant, and highly detailed works that span the spectrum from tiny trinkets to large decorative panels. While the learning curve for novices can be steep, once you know what you’re doing, it’s simply a series of steps, making it a fun creative endeavor.
What Is Epoxy Resin?
Epoxy resin is a two-part substance, comprising resin and hardener. A chemical reaction occurs when you combine these two ingredients at the proper ratio, converting the liquid into a hard glass-like solid.
That’s what makes resin so extraordinary. You can cast it, sculpt it, and add color and embellishments to it before it cures. Knowing what resin is will prepare you for your first piece.
Setting up a Proper Work Area
The most crucial thing to consider before you begin is safety. When you work with epoxy resin you need to work in a well ventilated space and wear gloves.
Protect the work area by covering surfaces and have your tools ready for use. Since resin can be very tough to clean off surfaces once it’s hardened, it makes sense to have a spotless work area. You will find that if you work carefully in a clean workspace you will make fewer mistakes and get better results.
The Right Way to Mix Resin
Resin works only if you mix the components carefully. Use the ratio of the resin to hardener as directed by the manufacturer of the resin.
Stir very slowly, taking care not to introduce bubbles into your mixture. Otherwise you could end up with an uneven surface on your piece or, worse still, an area that won’t harden.
This careful mixing will allow your piece to harden into something durable.
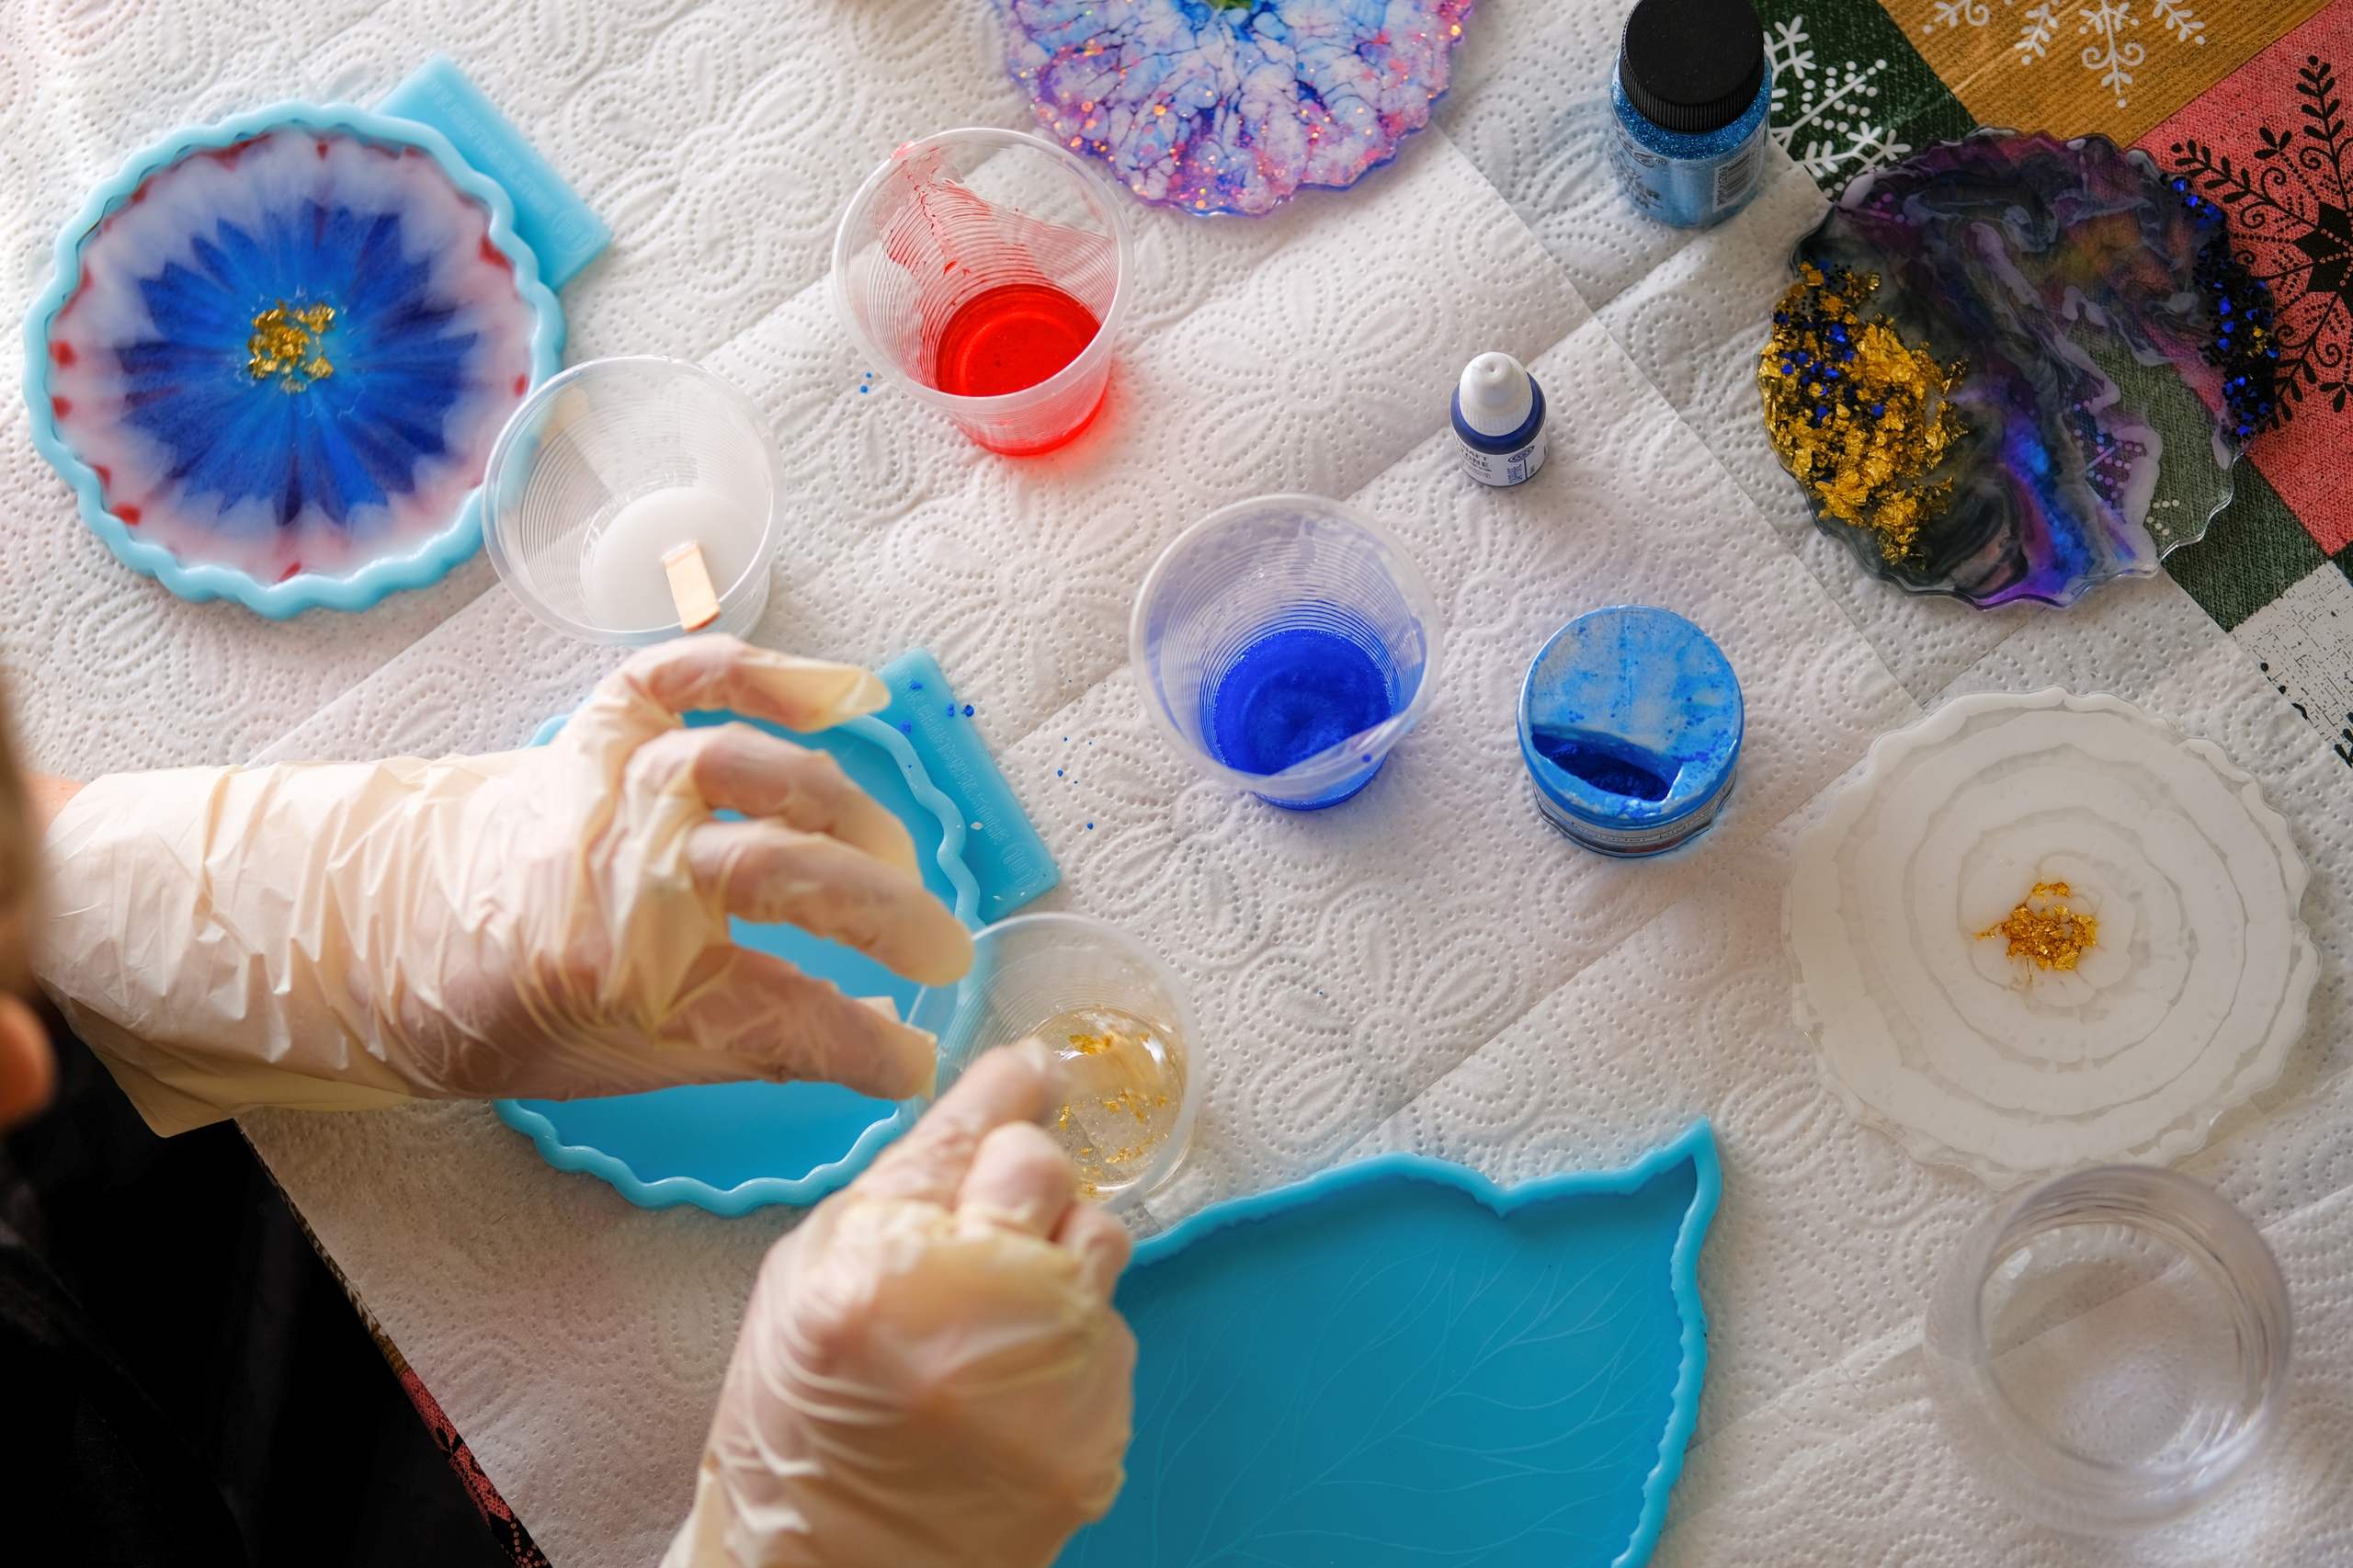
Incorporating Hue and Ornamentation
The great thing about resin art is the ability to mix in color. Add your choice of color, inks, glitters, or other substances.
It’s possible to add multiple layers, fade from color to color, or add objects into the resin to produce different effects with different techniques. It is possible to make any amount of things you want. Always do a trial run first.
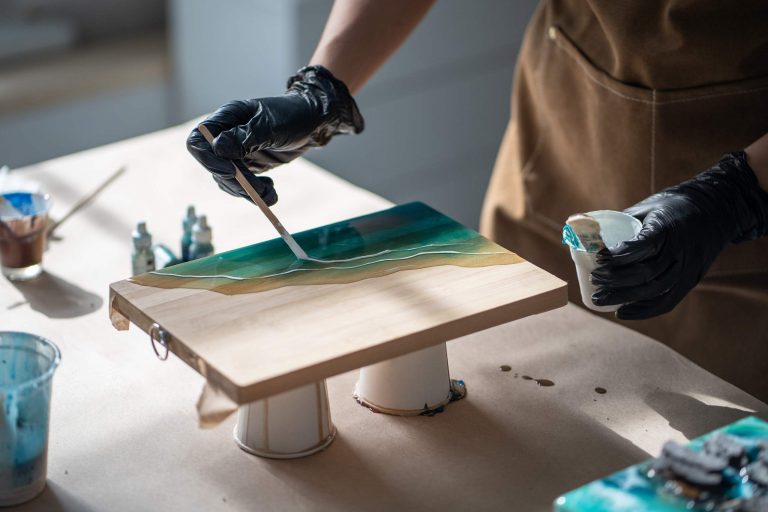
Pouring and Shaping Resin
When your resin is mixed and colored you will want to pour it carefully. When you do this be very slow and deliberate to prevent uneven spreading of the resin and trapped bubbles.
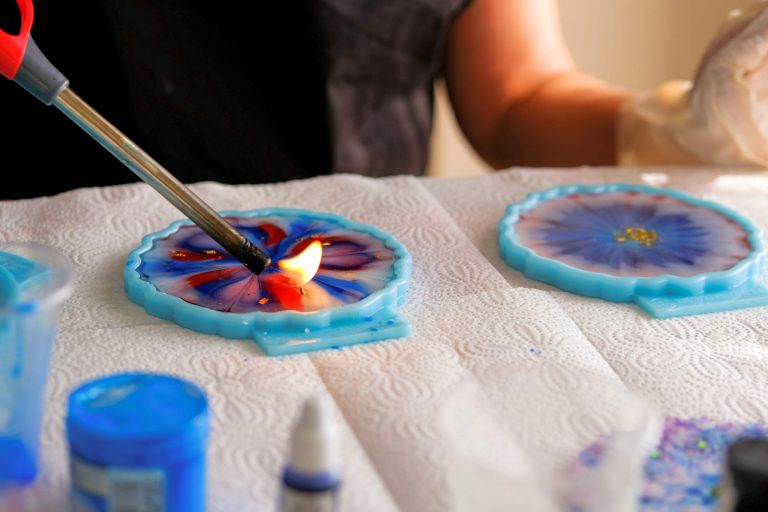
It is possible to blow any bubbles off the surface using a heat gun. The clearer it is and smoother it feels. This is something you must control while pouring the resin on.
Curing and Solidifying the Material
Once the resin has been poured, it has to be allowed to sit and cure. Depending on your choice, this can take anywhere from a few hours to a couple of days. In the meantime the object must not be disturbed or it could attract dust.
If the temperature or humidity changes, the resin could harden or take longer to cure. You need consistency to obtain consistent results. This is the time to be patient.
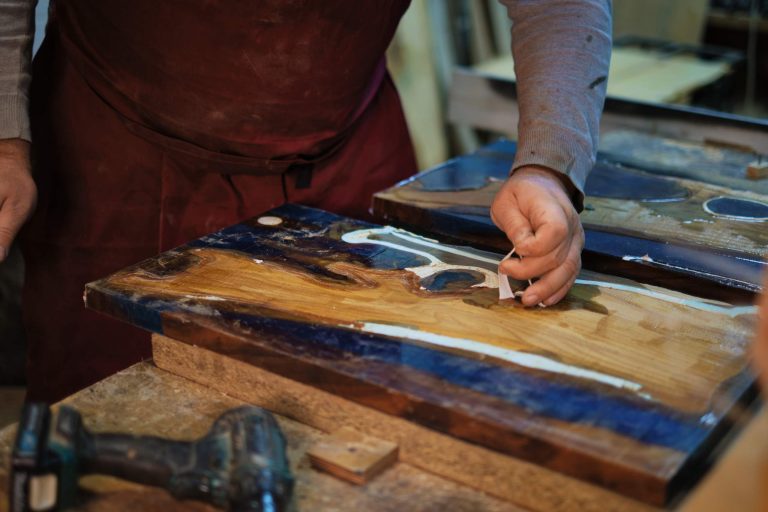
The Final Touches and Final Polish
Sanding or polishing can be done once the resin piece has been cured. This will make it shine brighter and fix up any blemishes in it.
The art piece has an even, shiny glass-like finish when this is done, which really helps the colors and details stand out. It is a necessary step before you will call the finished piece an art object.
To Sum Up
Creating your first epoxy resin piece is a simple, step-by-step process. All you have to do is learn about the resin, mix the resin correctly, and do so safely to make gorgeous individual works of art. You can create stunning and one-of-a-kind works of art using the craft if you allow yourself enough time and gain experience with it. You can learn how to use the medium of resin to become more artistic and to develop a design.